studio tips


Front Loading
A term you may have heard me use... you won't find it in an instruction book because it is simply my approach to the work.
What is it?
There are a number of things (you could call them habits) that I do in my process that produce a smooth work flow. The overall idea is that the more work that you do up front or "front load", the less you do at the end.
Every studio is different in their approach to designing, building, and finishing, and my studio has a signature approach.
I call it Front Loading.
Front Loading is simply applying a whole lot of strategy to a design in the front end to avoid a whole lot of painful finishing on the back end.
Call me lazy.
One thing you may notice in my studio is that I rarely use the Flexi-shaft for finishing my pieces. The Flexi-shaft is my primary drilling tool, but many design studios depend on it for, sanding, grinding and yes, polishing for their finished work. My theory is that if you can plan or “front load” your design, you will never use the Flexi-Shaft for finishing. Or at the very least, for minor touch-ups.
A few tips you may find helpful...
-
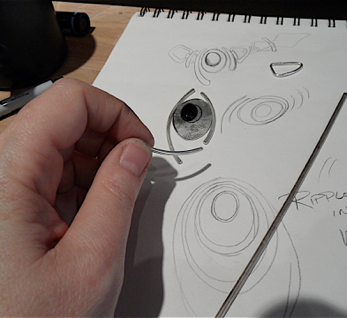
1.Plan your design outcome with a sketch or series of sketches that inform your plan.
-
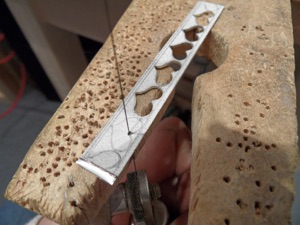
2.Be strategic in your cutting. If you are sawing intricate shapes, do it with as much precision as possible. This will avoid the need to file and sand in the following step.
-
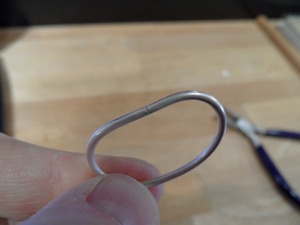
4.When bending and manipulating wire, consider what tools you are using. Avoid plier marks by padding the work or gripping lightly, and be careful when filing around flat surfaces.
-
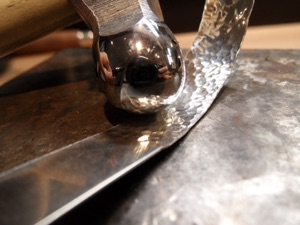
5.When doing hammered work make sure the hammer is free of nicks and marks. Those marks will imprint on your work.
-
6.Be strategic in your soldering. Solder that goes rogue on a piece is never good, especially if it is a patterned texture or a smooth surface that can not be sanded afterward. Prevent this with good soldering techniques...
-
•Always make sure your connections are clean and meet together with “no daylight” in between. Solder won’t fill empty spaces
-
•Stage a piece to solder from the back whenever possible.
-
•Use the right amount of solder, and the right kind. Less is usually more.
-
•How you solder matters. Pre-solder to get things started when you are afraid something will move. Use a solder pick and pick-solder in awkward and tiny spots (like mesh chain). When you have multiple solder joints start with Hard solder and work your way down to Easy.
-
•Do as many joints as possible at one time.
Just a little Front Loading and a few good practices will help shorten your finishing time and achieve a more perfect piece.
Friday, March 11, 2011